In this post, I have basically written the process of making the blanket and have produced images too, though the quality of the images are not that great, sorry about that ![]()
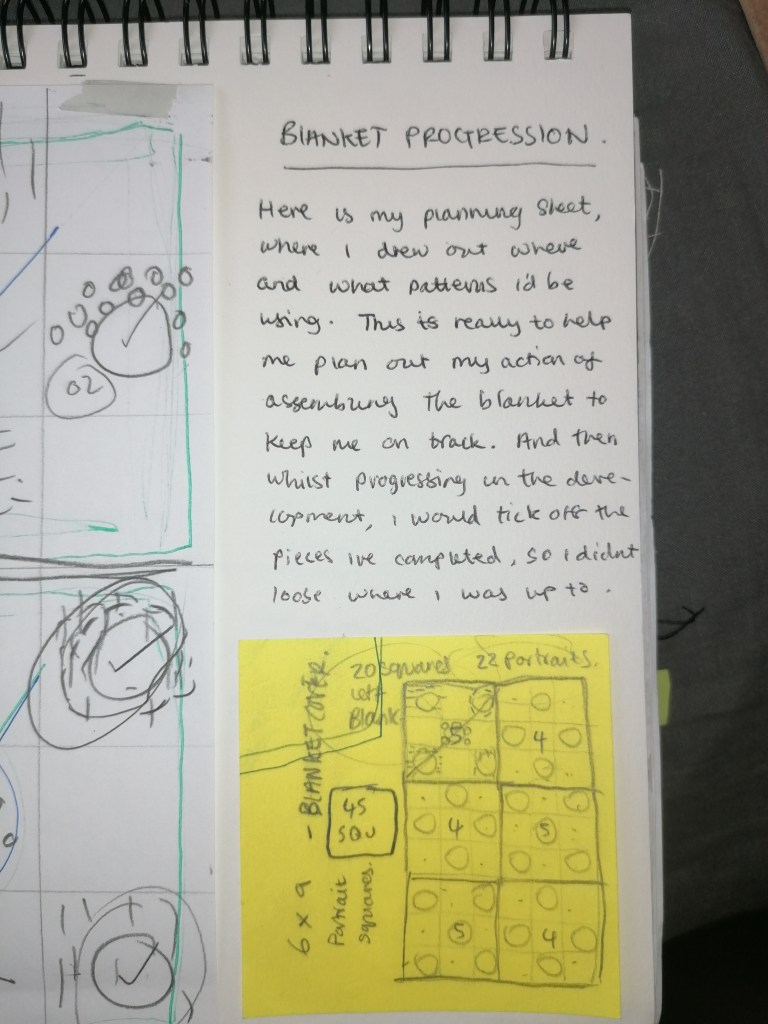
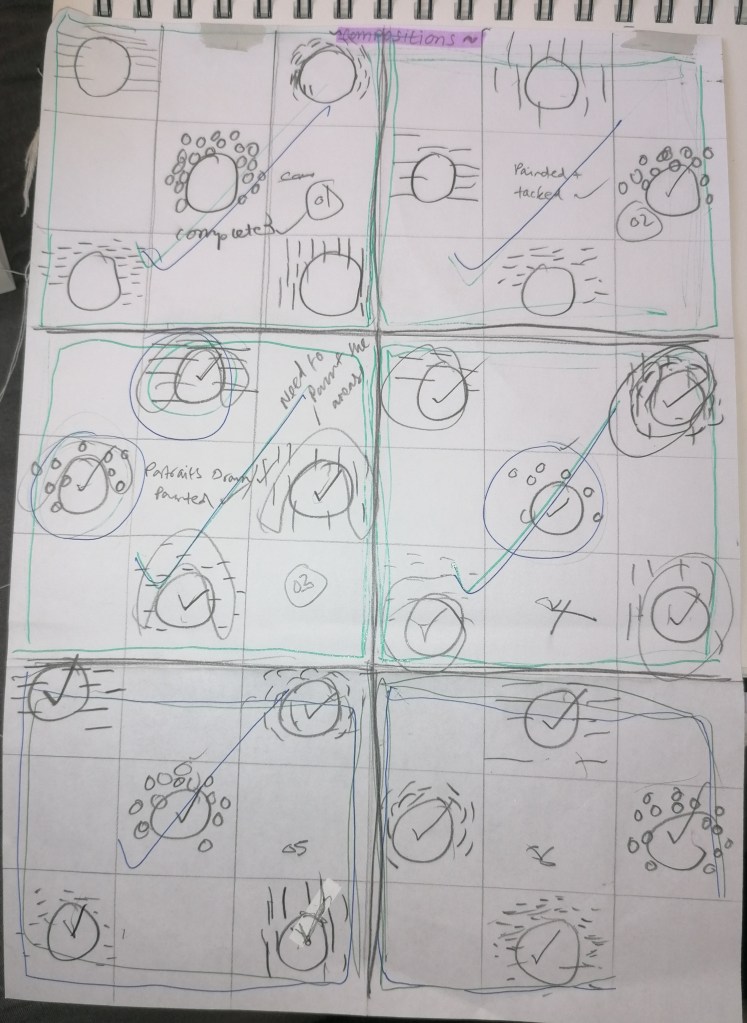
I thought that because I’m making a blanket, I should make a layout plan of how I will produce the piece. So here, I made sketches of what patterns I will be using and what there placements will be when It comes to assembling the blanket together. This way, it helps me stay organised and shows me how many portraits of which pattern I need to make, so I wont produce more than I need and to help me stay slightly organised in the process of things.
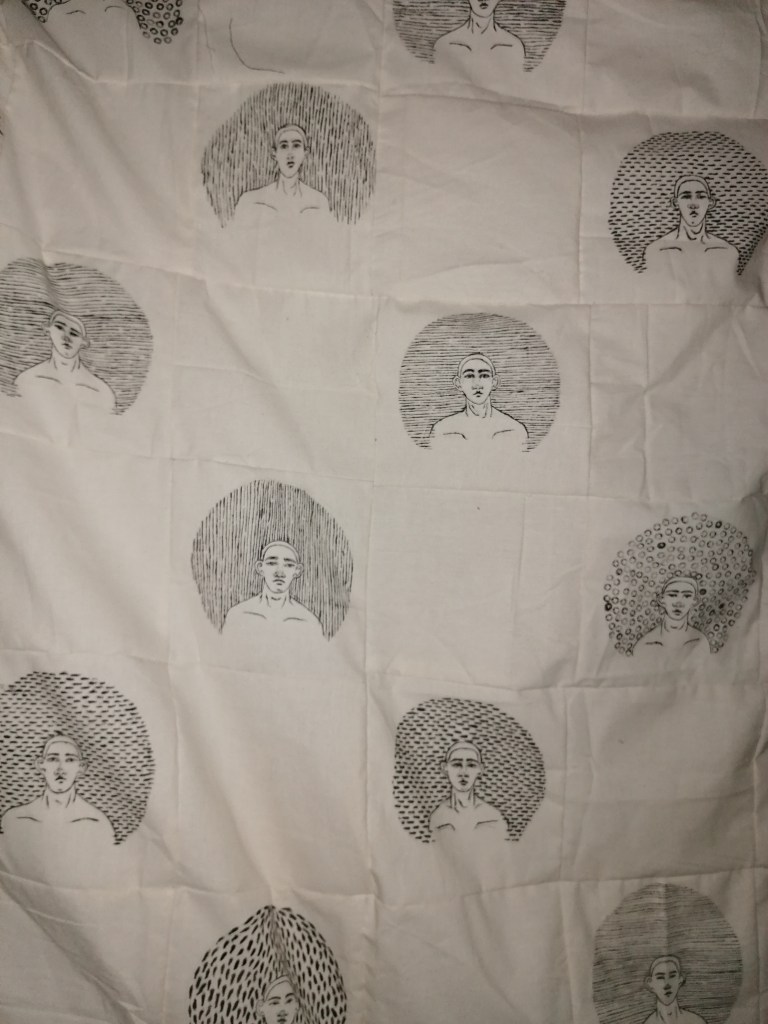
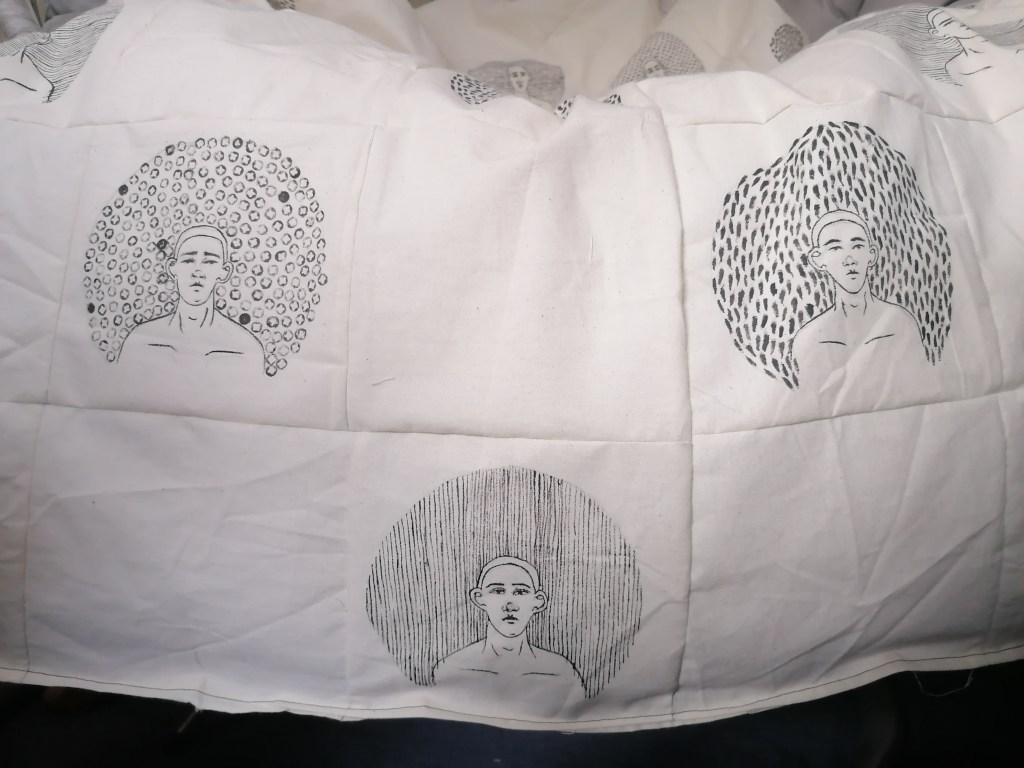
The blanket consist of 54 fabric squares, 27 of them will be the portraits. I decided that having spaces between the portrait pieces would be better in terms of production time, because the portraits are all hand painted they take some time to do(30/40 mins each). I also decided to just stick with the same repetitive patterns to maintain a neatness in the work, but also to keep the black marks bold, I noticed before that when I used a smaller textured object (like the shell) the markings didn’t come out as striking as I wanted them to. So I stuck to using markings I knew wouldn’t disappoint in that area.
So the first step into making the blanket, wat to make sure I had enough fabric supply to start making the portraits and cutting the fabric to size. Once I had made sure I had enough fabric, I got straight onto sketching out 27 portraits with a scaled template I made earlier on in the project (3.5″ inches H x W) In the centre of the square fabric cut, and created an outlining of a circle that will guide me where the markings will meet, to roughly keep all the portraits and markings to be the same size. I found that when I didn’t use a guideline, my portraits and there fear surroundings would be out of place and when put against each other, they would then look messy.
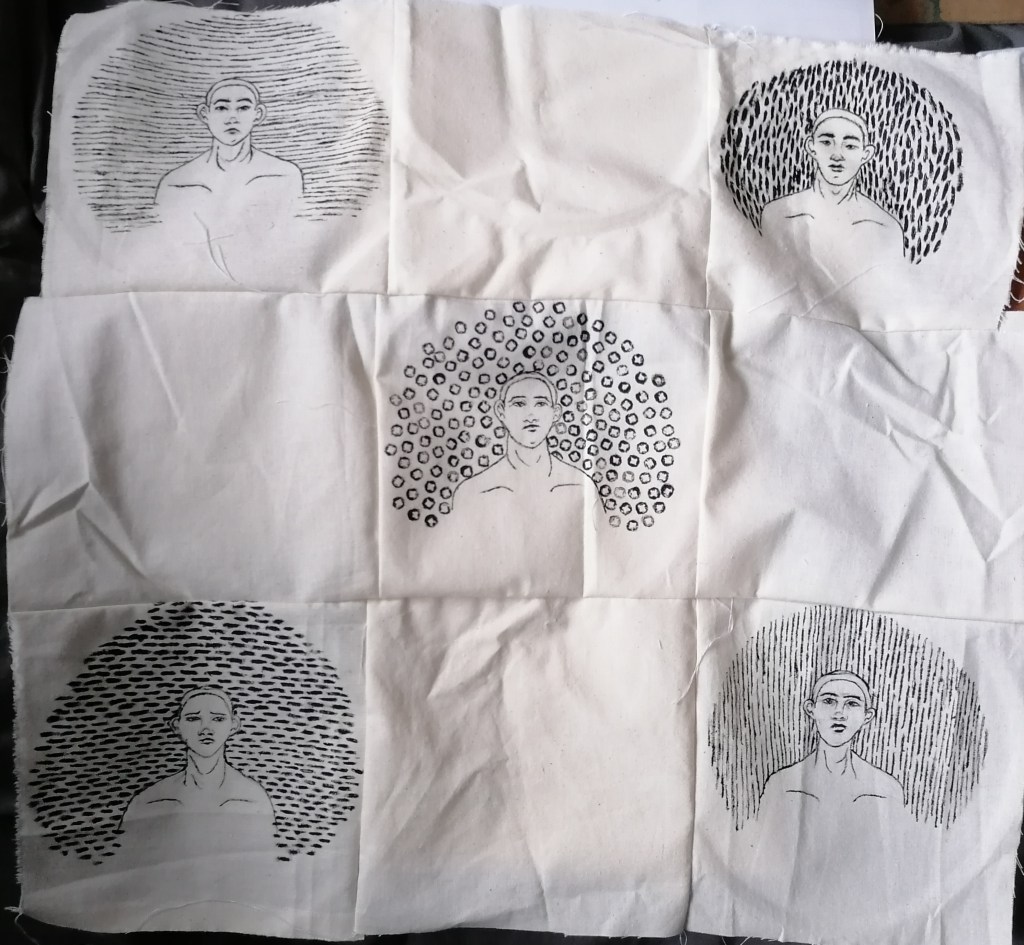
Completing all the portraits took me a while to do, but when I eventually drew and sketched them all out, I then had the paint them using black acrylic and a fine paintbrush. I secured the fabric in place using an embroidery hoop to prevent paint smudging and sort of flattens out the creases in the fabric. I proceeded to paint the portraits, using my sketches to which order I would paint them, and group the pieces together.
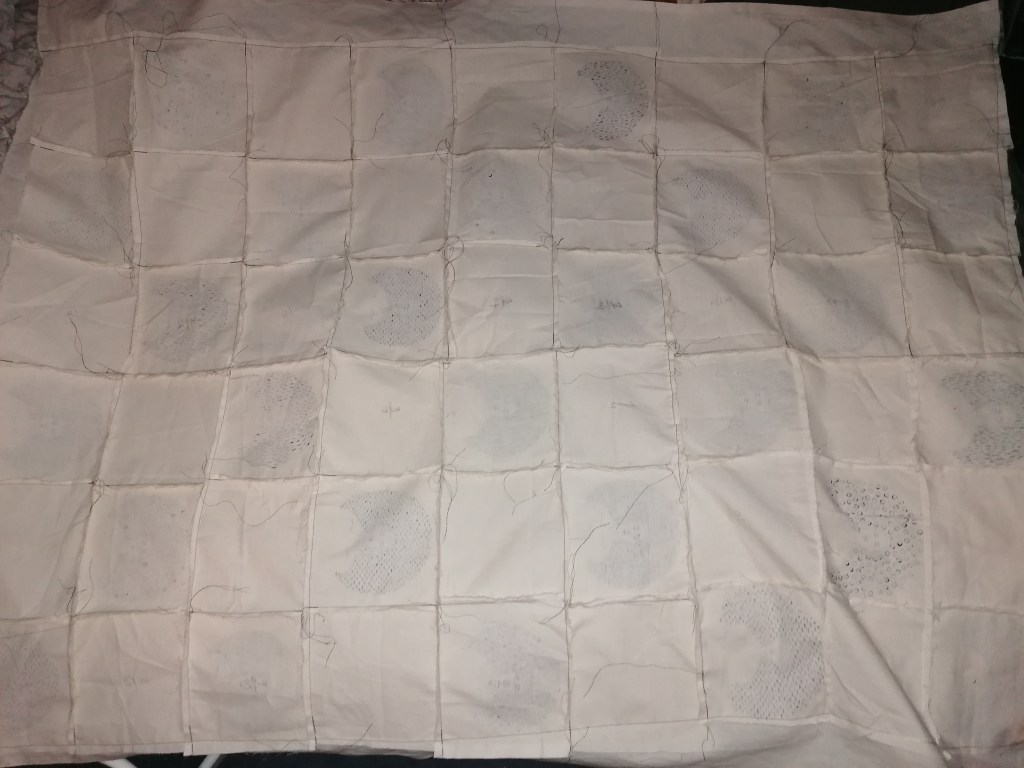
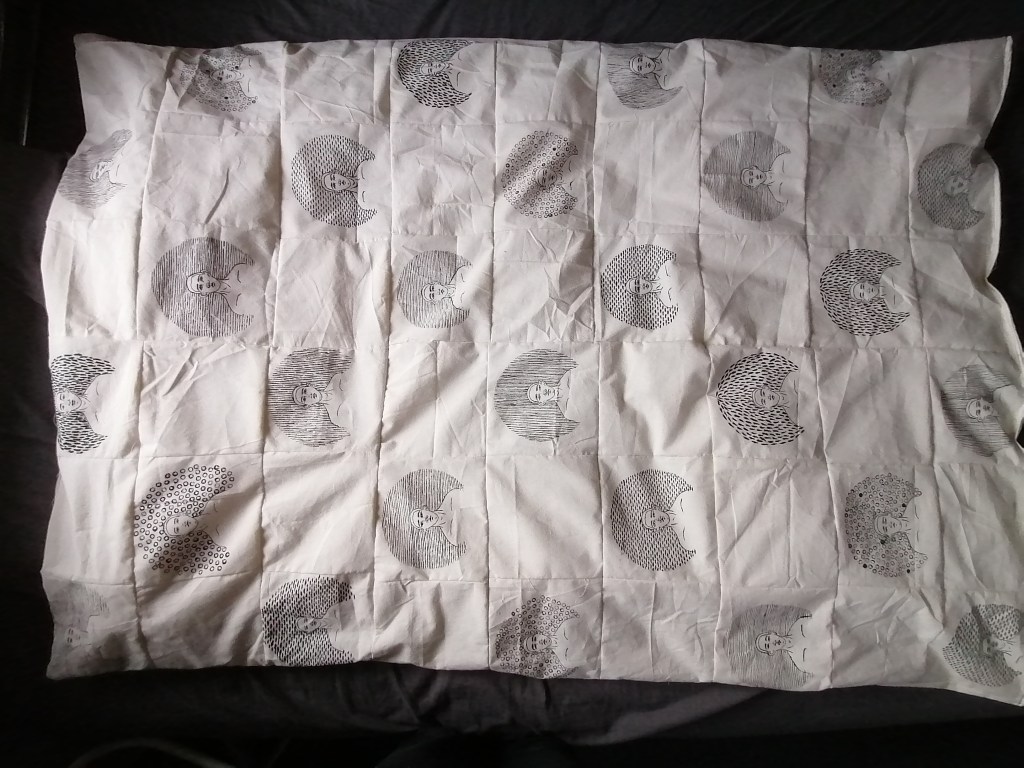
After I had painted all the portraits and arranged them into 6 groups of 9 square pieces, that’s when I began to tack the pieces together to form a larger piece of fabric like the image is showing above.
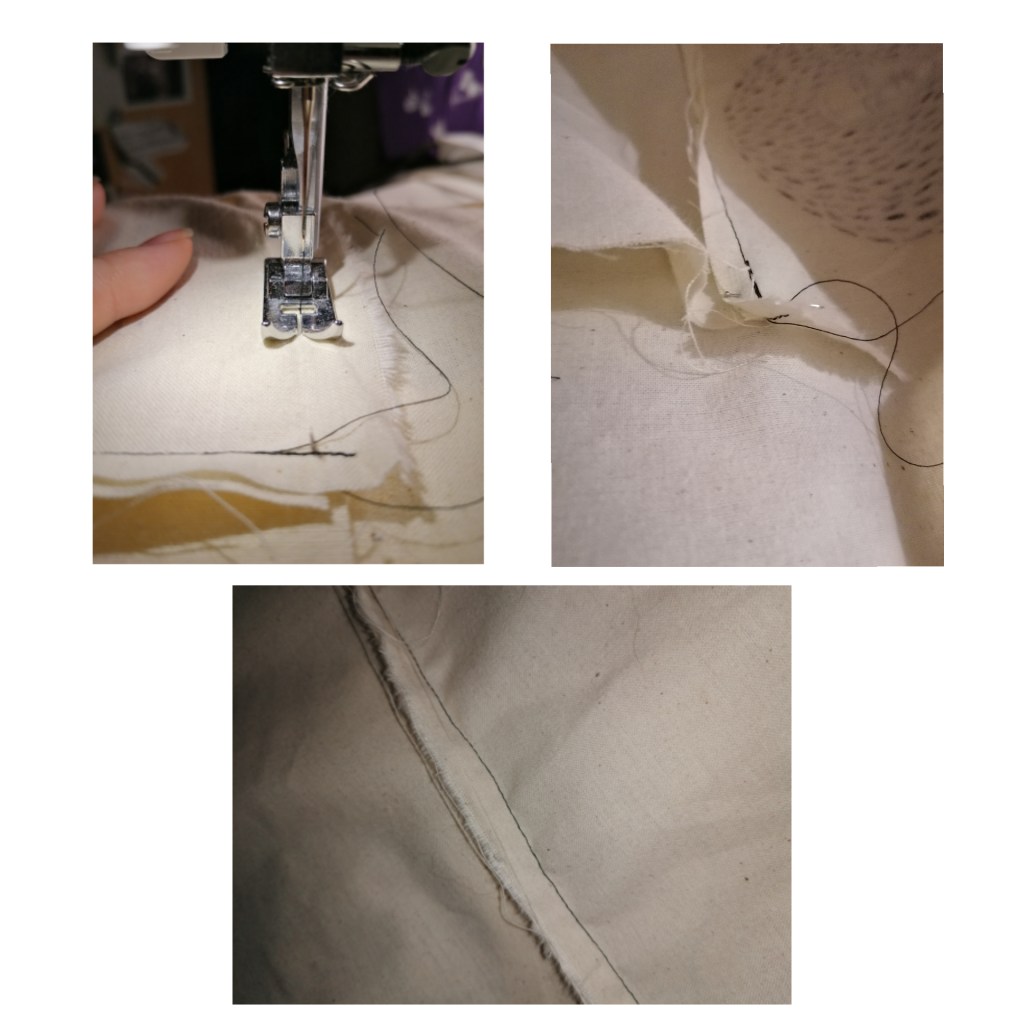
Slowly, I began joining the fabric and portraits together using a straight stitch with the sewing machine, keeping the stitch hidden from the surface of the blanket to not disrupt the portraits with loose threads.
*I’m having to resort to taking images of the work on my phone because my cameras focus doesn’t work on the Nikon, so the images might appear to be slightly blurry and unfocused, but I’ll try to make the best of the images I can*
When sewing the portraits together, one thing that bothers me is that the fabric pieces are slightly bigger than others, which causes the lines to join up in different areas, to the joining of the materials isn’t as neat as I would have liked. But to prevent this from happening next time, If I use one template for cutting scale next time that using multiple, the pieces would be more accurate in scale then.
Because this is a blanket to represent a comfort object, I wanted to stuff the blanket with a quilt stuffing, to give the blanket depth and to actually then be able to have a function. I think that having a functional piece of work is an interesting concept, and I can actually use it myself within my own home and comfort area.
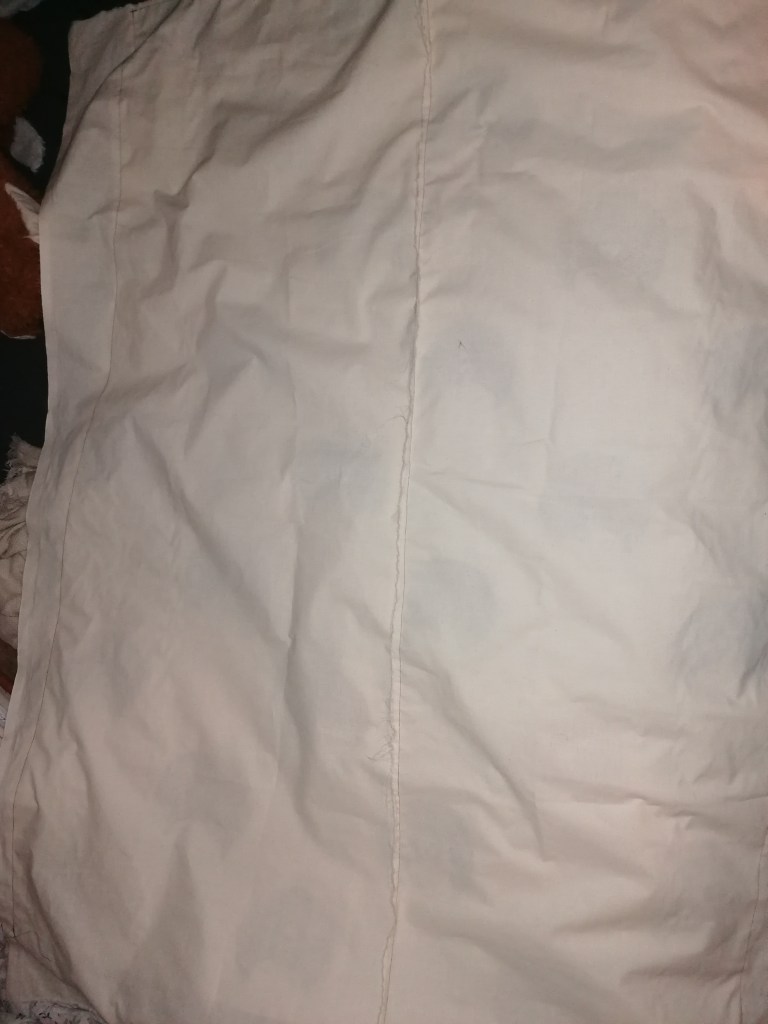
Because I want to stuff the blanket, I started making a back for the blanket. Which I will tack to the portraits side of the blanket front to front so the stich will reman hidden, and create a sleeve to stuff the blanket I ordered into it. Sewing such big pieces of fabric like calico was quite difficult to drive through the sewing machine because it’s a really tough material and it’s got a weight to it, but in the end, there wasn’t really any problems when sewing other than that.
After sewing the blanket together and turning it inside out to form a giant sleeve, I stuffed the blanket to size inside the sleeve and sewn the blanket shut to conceal the blanket together fully. I think If I had the time and materials to do so, I would have made button holes and use buttons to close the blanket up so I could easily change the quilt if needed, but this method was quicker and I don’t have the buttons to do so.
I think that making a blanket to the title ‘interior/exterior’ is fitting in the sense that what I have created in cases might relate with in interior design, but the fact that because blankets are functioning objects, I could leave it in an open space that might not be in the comfort of someone’s home, It could be placed in public spaces or facilities such as in the library or in a café to preform as a seat comforter and because of it’s aesthetic look, it would fit in well with the exteriors of places as well as our own interior places.
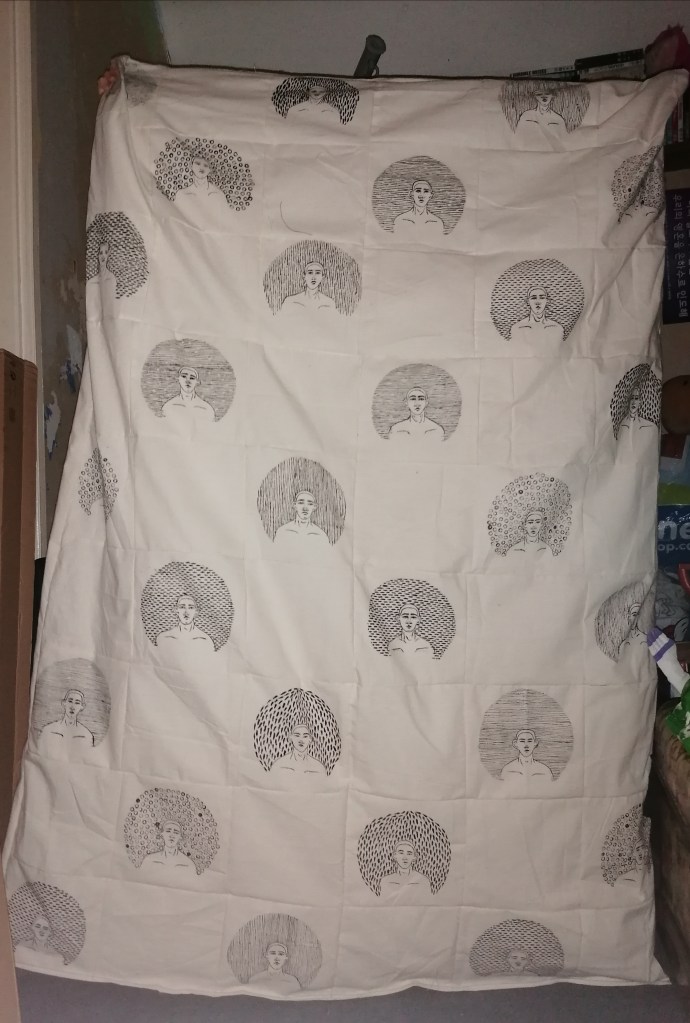
(*Images of the blanket are being hung up with assistance)

For a double bed, the blanket isn’t big enough to cover that scale of surface and I think it would still be too short to cover the whole area of a single bed. So I think the function of this blanket will be for a big chair.
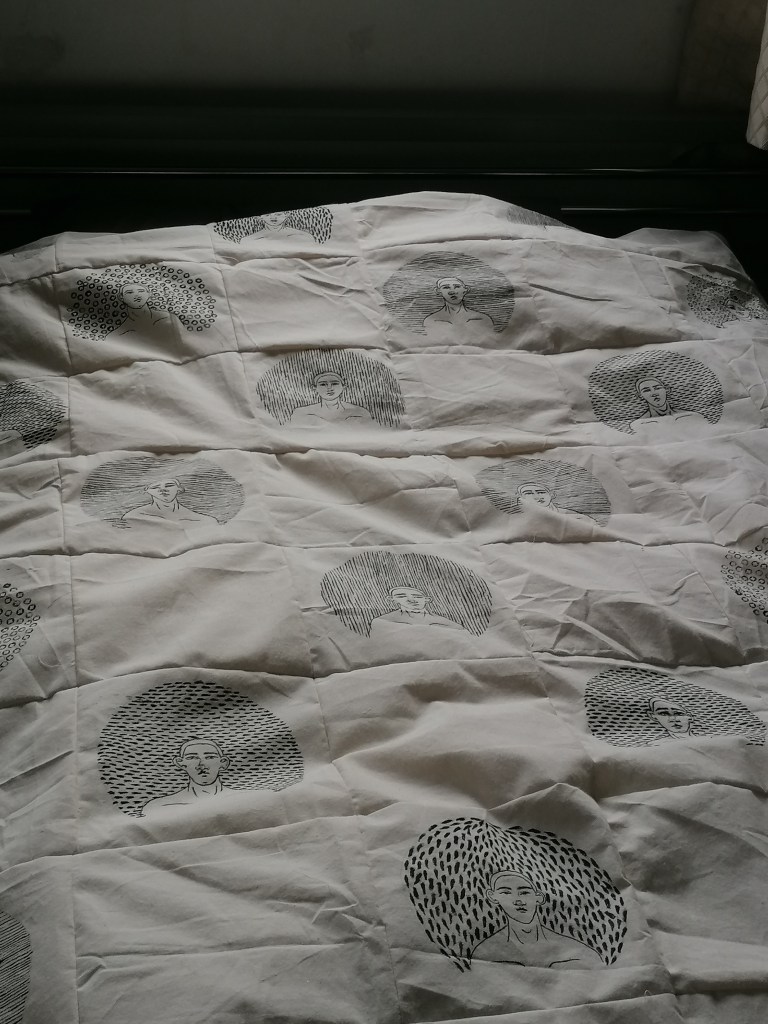
I think that the presentation of the work is better to be viewed in natural daylight due to its off white colour, for some reason, the natural light makes the fabric look softer and more welcoming to encounter with, like I would rather lay with the blanket when it looks like that. So I think that the positioning and lighting for the blanket when it comes to presenting it is important.
I will post an Image of the blanket on a chair that I think it will look good on, but the bonus is that the chair is my comfort seat for when I’m suffering with my anxiety badly, so with the theme of using fear and my production of a comfort object, the space and outcome work well together.
